Step 11
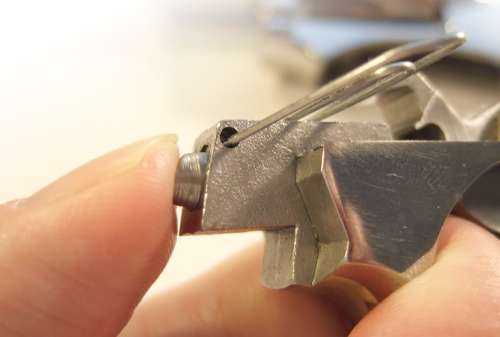
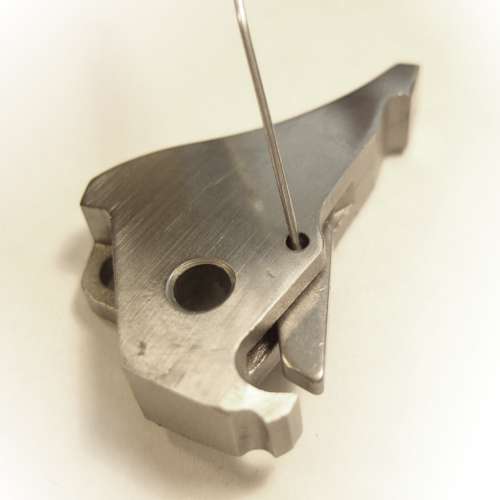
Remove The Hammer Dog
The hammer dog [66] mates with the trigger as the trigger is pulled back.
Use a paper clip to remove the hammer dog pivot pin [21]. Remove the hammer dog, plunger [4] and the spring [3].
Step 12
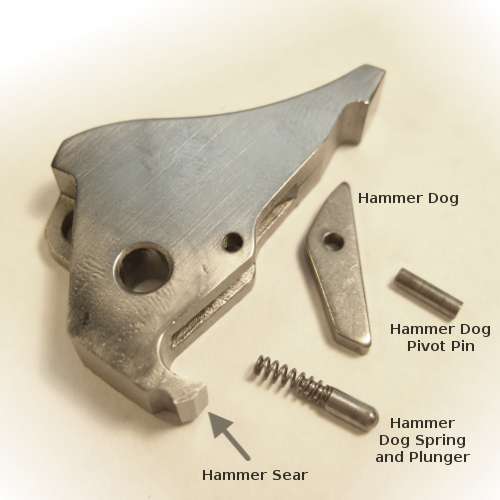
The hammer assembly...
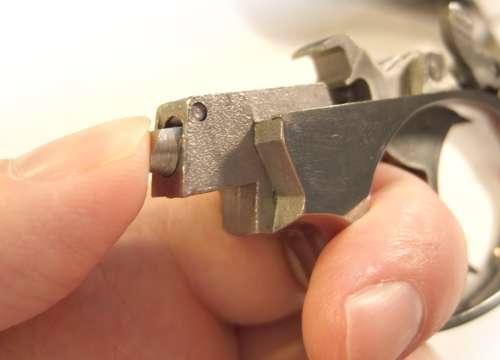
Polish the hammer sear, but do not change the angles. Do not sand the hammer sear.
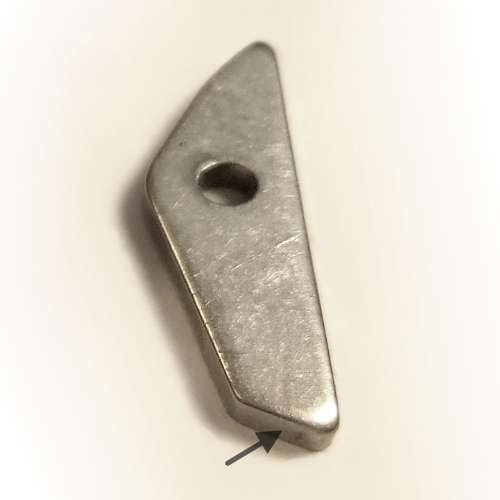
Step 13
Polish the bottom side of the hammer dog and sand any rough edges. This is a factory fitted part. Be very careful not to remove too much metal or change the angles.
Step 14
Remove The Trigger Guard Housing
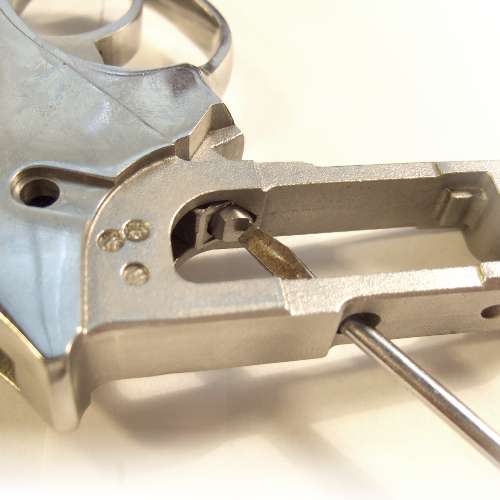
Insert a long, narrow screwdriver, bar, etc. through the hole in the rear of the frame grip and push the trigger guard latch [42]. It may take quite a bit of force to press the latch. Be careful not to let the screwdriver slip off while pressing.
I prefer to hold the frame with my left hand while using my right hand to depress the trigger housing plunger. I press the muzzle into my leg during this procedure. I place a left hand finger in the trigger guard housing [63].
Step 15
While pushing the trigger guard housing latch completely in, pull down on the trigger guard housing so the rear swings downward.
If the trigger guard housing refuses to move while the plunger is depressed, you may use a small screwdriver to gently pry the housing away from the frame. Do not pry on the seam where the trigger guard housing mates with the frame.

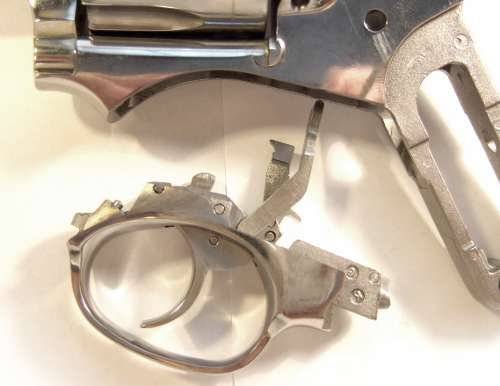
Step 16
Remove the trigger guard housing.
Do not sand or polish the edges where the trigger guard housing mates with the frame.
Step 17
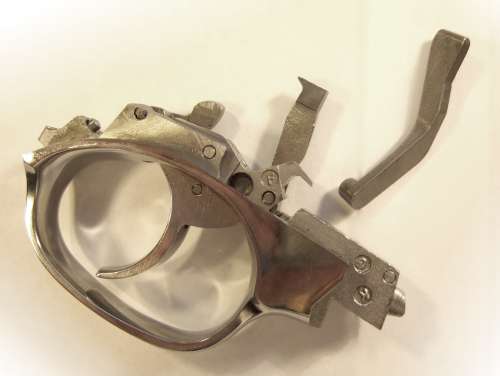
Remove The Transfer Bar
Pull the trigger slightly and slide the transfer bar [41] sideways to free it. Note - Do not pull the trigger all the way back or the pawl spring [3] will launch out.
Sand any rough edges on the transfer bar.
Step 18
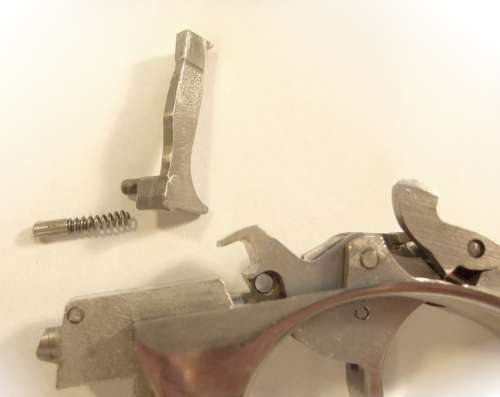
Remove The Pawl
Note - The pawl spring [3] will try to launch during this procedure.
Place the trigger guard housing in a plastic bag or hold your finger over the pawl spring. Carefully pull the trigger and slide the pawl [30] sideways to free it along with the pawl spring.
Polish the top, flat area of the pawl and the bottom area that rubs the frame. Sand any rough edges.
Step 19
Remove The Trigger Guard Latch
Place a finger in the trigger guard housing behind the trigger and use your thumb to push in the trigger guard latch [42].
Step 20
While pushing in the trigger guard latch, use a paper clip to push out the latch retaining pin [48].