Masterbuilt Electric Smoker Mailbox Mod
by Kevin Wilson
Introduction
The Masterbuilt Electric Smoker is a good smoker, but it may work better for you after completing the "mailbox mod".
What's a "mailbox mod"? The mailbox mod essentially moves the chip holder outside of the smoker. Typically, a mailbox (or other metal box) is situated next to or under the smoker and connected to the smoker's chip loader hole with aluminum dryer duct.
Why do a mailbox mod? There are several benefits. You may have heard the old saying, "If you're lookin, you aint' cookin". If the chips are inside the smoker, you may occasionally need to open the smoker to deal with them. Opening the smoker lets out all the smoke, heat and moisture. Consequently, it can increase the required cooking time. Most smokers have a chip loader, but sometimes it doesn't work well. I was never really happy with the chip loader on my MES. The mailbox mod makes it much easier to monitor the chips, add new chips, remove a pile of burned chips, etc. The mailbox mod also gives you a little more control of the draft going into the smoker. It's possible that as the smoke travels through the mailbox and duct, creosote in the smoke will condense on the inside of the mailbox and duct - instead of on your meat.
An alternative to a mailbox mod is using an A-MAZE-N AMNPS Maze Pellet Smoker. I've never used one, but people seem to really like them. They can burn pellets for many hours. You simply fill it up, light it, set it inside your smoker and you don't have to worry about opening the door and adding more pellets. However, there have been a few complaints of pellets going out or the pellets not burning right in the AMNPS, so you may still have to occasionally open the smoker if you have an AMNPS inside. Some people have put an AMNPS inside a mailbox with great results.
In this page I'll walk through the construction of my mailbox mod. You may follow it to complete your own mailbox mod, or just get some ideas. There are many, many different ways to complete the mod. My process was limited to the materials I found on sale or had laying around. I was also limited by my available tools. Also, my wife doesn't like it when I blow a bunch of money on crazy schemes (like attaching a mailbox to a smoker) so my budget was constrained.
Required Tools and Materials
- Mailbox (or other metal box)
- 3" aluminum duct 90 degree elbows (2)
- 3" aluminum duct (I used semi-rigid)
- 3" duct clamps (3)
- Various tools
- Stand (optional)
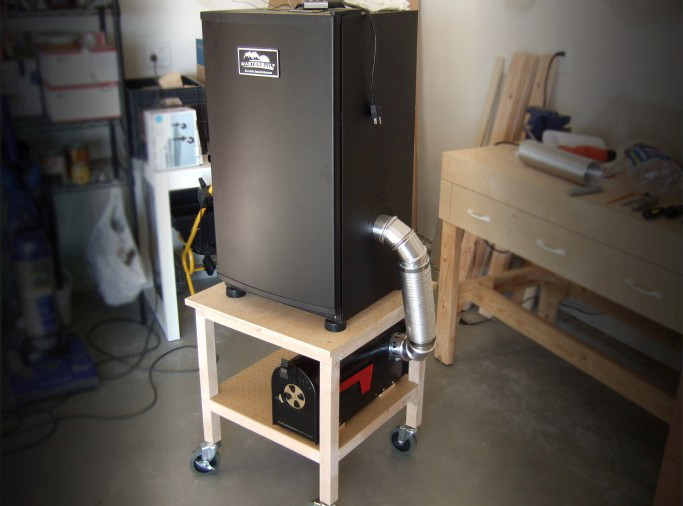
The image above is my completed setup.
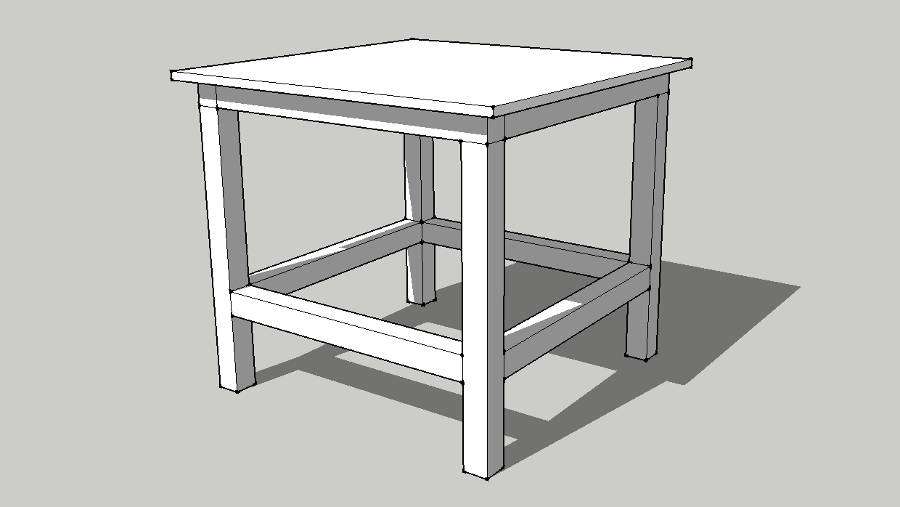
First, I built a simple stand. You can download my SketchUp file for the dimensions. Of course, you can make the stand however you want, or not use one at all. I won't go into too much detail about the stand because that could become it's own page.
After the stand was completed I started on the mailbox. I found this mailbox on sale for under $9. It's galvanized steel with black paint. Galvanized steel has a zinc plating. Zinc can make you sick and some people are concerned about using galvanized steel with food. Generally I'd avoid using it, even though the FDA has approved galvanized steel to contact food but in this case I think it's acceptable because the zinc plating is stable until it reaches almost 400 hundred degrees (F). Even at this temperature the zinc plating only begins to peel, which shouldn't be a problem if it's away from the food in the chip holder. The temperature must increase to over 800 degrees to melt zinc, which is when it can cause some health issues. Many people have used the mailbox mod with galvanized steel without reporting any issues. I was more concerned if the paint would tolerate the heat. So far is seems fine. Actually, the surface of my mailbox never gets hotter than it would out in the sun on a hot summer day. I can always hold my hand on it for at least 1 second.
First, I held my 90 degree elbow against the side of the mailbox and traced around it with a white china marker / grease pen.
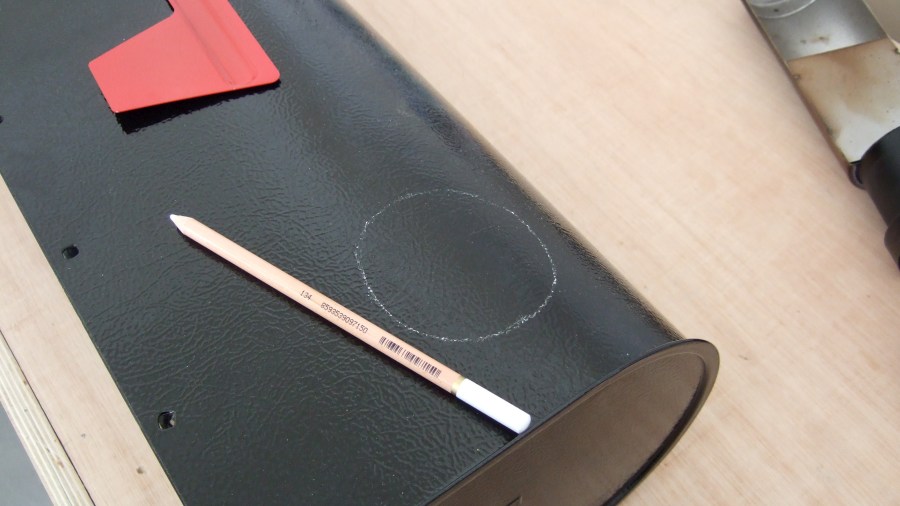
I wanted the hole near the top of the mailbox, but the top of the mailbox is rounded so I had to tilt the 90 degree elbow as I traced around it so it stayed flush with the mailbox. Without getting into a bunch of complicated geometry, just know that when a cylinder (like the 90 degree elbow) intersects a curved surface (like the mailbox) the hole will be oval.
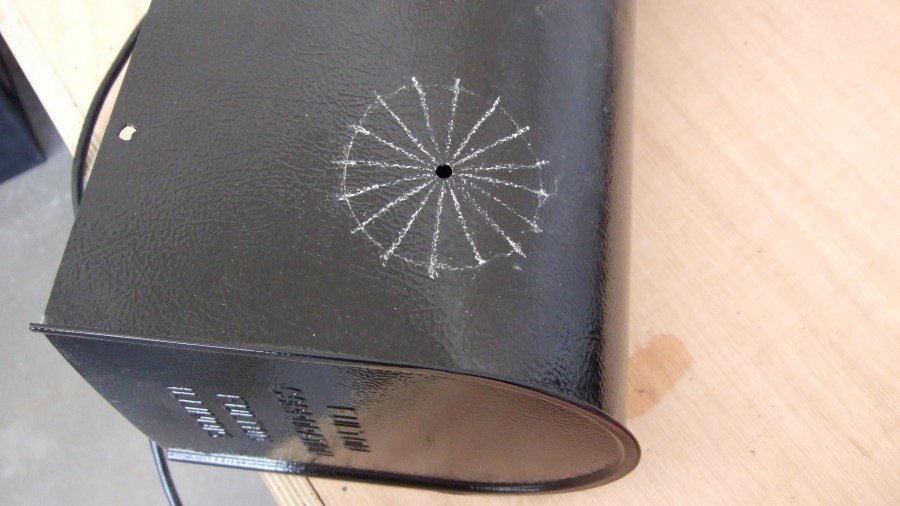
After tracing the 90 degree elbow, I found the center of the circle. There's many ways to find the center, but remember that this doesn't have to be perfect and that the hole may be oval. Then I drilled a hole in the center. Next I drew 16 lines equally spaced around the circumference to the center. The easiest way to do this is to draw an "x" (your first 4 lines) then draw 4 more lines half way between the existing 4 lines. Now you have 8 lines. Finally, draw 8 more lines half way between the existing lines.
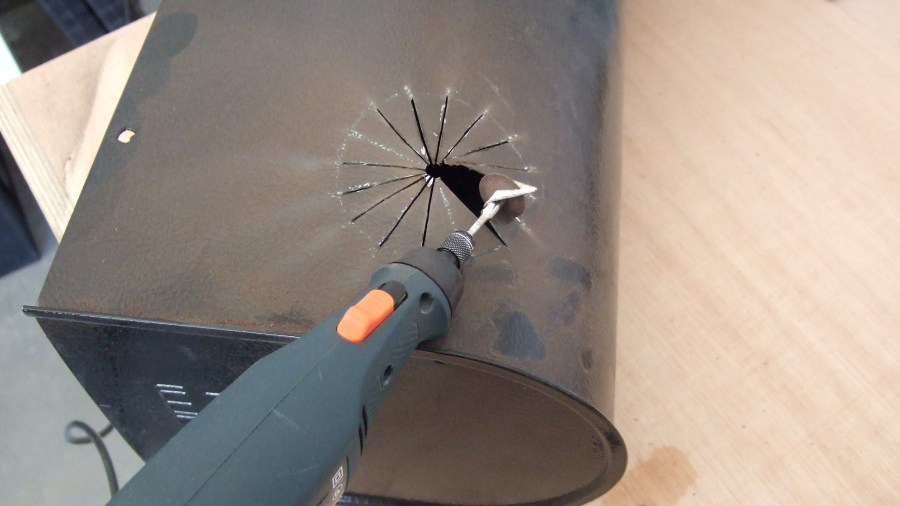
Now cut along the lines with a dremel and a cut off wheel. I cut just a tiny bit past the line I drew around the 90 degree elbow to make sure the hole would be big enough. Try not to let the metal wrap around the dremel. This will make a lot of very loud, annoying noise, so make sure to wear hearing protection.
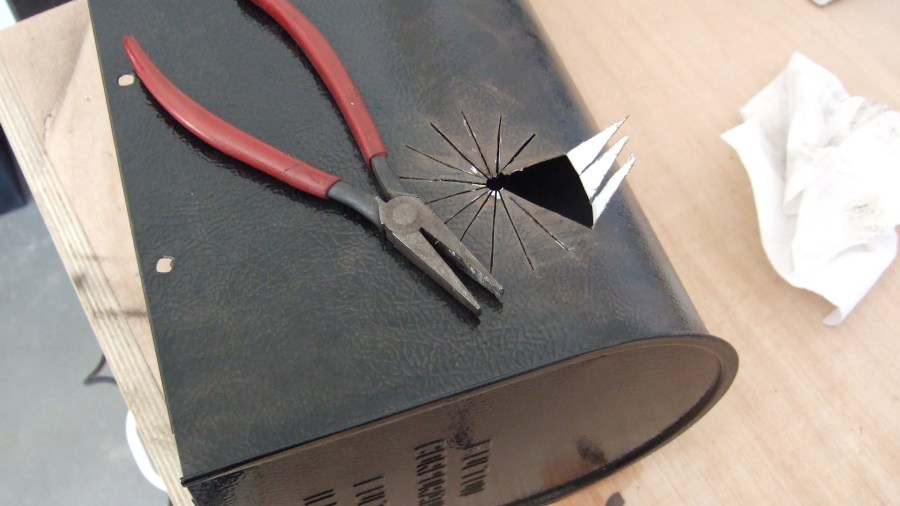
Now bend the tabs up with a pair of pliers. You can try to bend them into the mailbox if you want a really nice look, but I suspect it's a lot more trouble than it's worth.
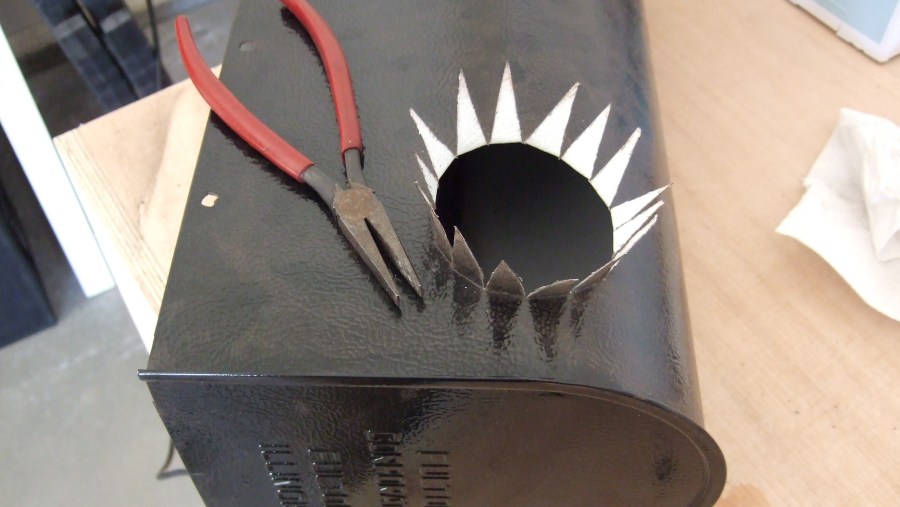
The tabs are sharp so be careful. This is a good time to cut the pointy ends off of the tabs, if you want to. Be sure to leave enough tab for the duct clamp. Carefully fit the 90 degree elbow into the hole. My hole was a bit too small. I couldn't get the dremel in there with the tabs sticking up so I used a hacksaw to extend a few of the cuts a little further. After that the 90 degree elbow fit right in. Be sure to get the 90 degree elbow rotated to the proper orientation.
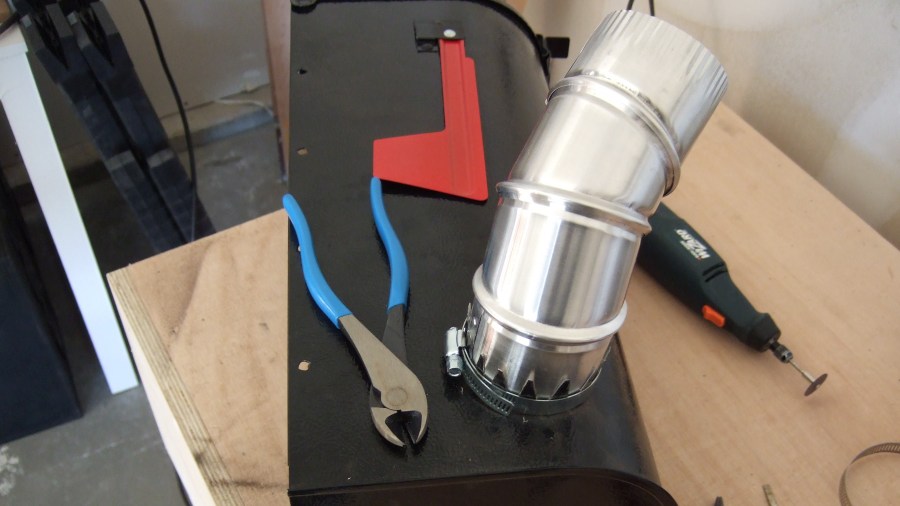
With the elbow in, put the duct clamp on. You don't need to tighten it too much, just get it snug so the 90 degree elbow doesn't move.
Next, use a duct clamp to connect the flexible duct. Use another clamp on the other end of the flexible duct to attach the second 90 degree elbow. The second elbow will slide right into the hole for the wood chip loader. My elbow fit tight enough that the friction was sufficient to hold it in place. If your elbow is loose, maybe a couple layers of aluminum tape would snug it up.
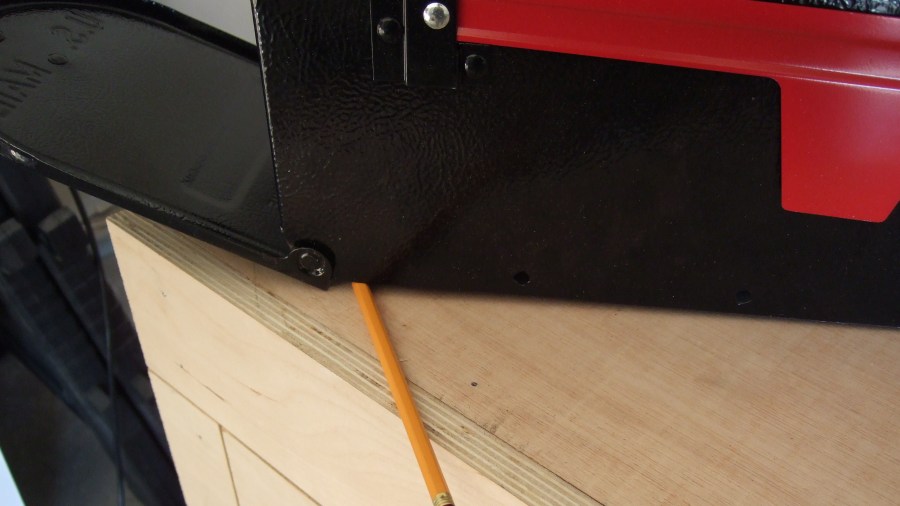
My mailbox door will rotate down and extend under the bottom of the mailbox when it's opened. This means the mailbox won't sit flush with whatever its sitting on when the door is opened. To solve this you can position the front of the mailbox to hang off the front of the shelf, or you can raise the mailbox up about 1/2".

I opted to raise the mailbox with some 2x4s. This also makes it easy to secure the mailbox to the shelf.
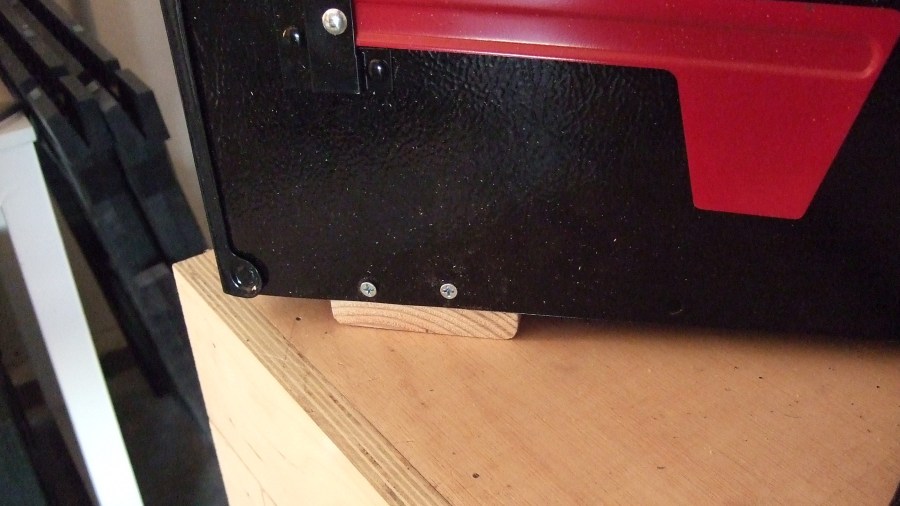
I cut the 2x4s to the width of the mailbox and secured them from the sides with a few screws. Then I secured the mailbox to the shelf with a few screws from under the shelf into the 2x4s.
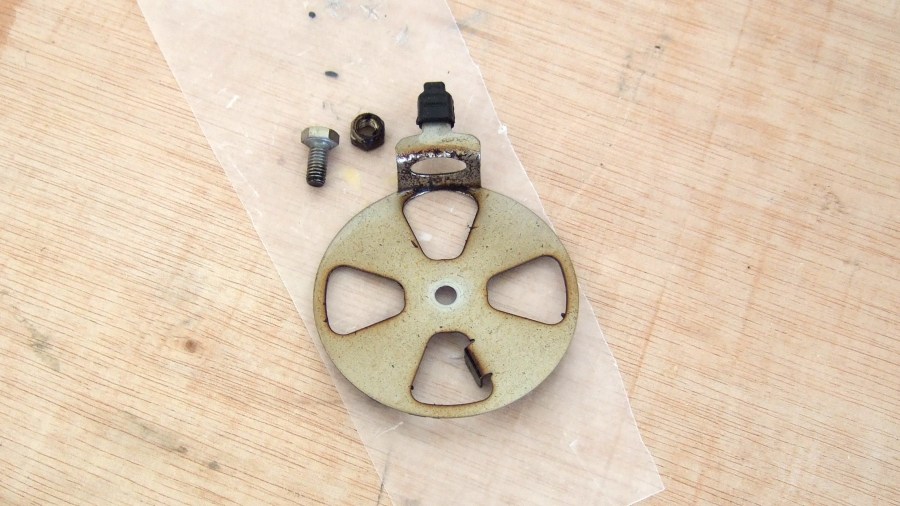
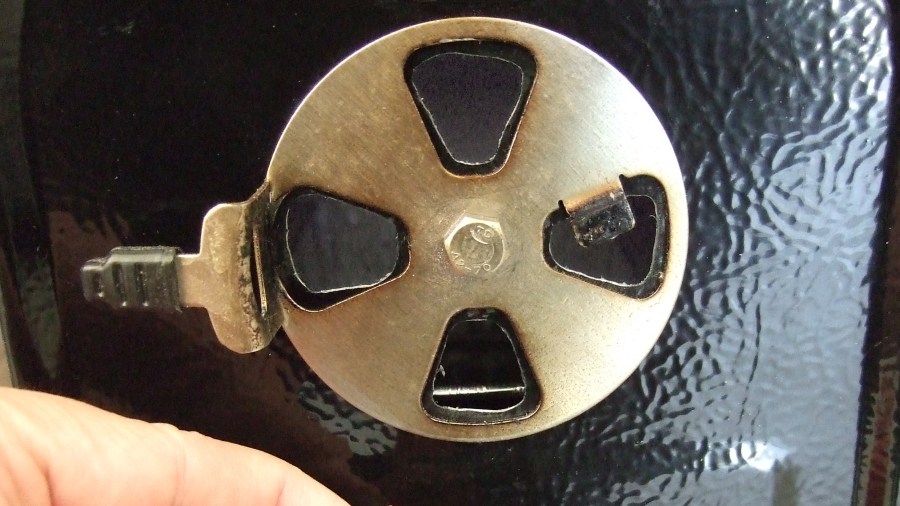
Next I removed the vent from the top of the smoker. It's held on with a bolt and a nut.
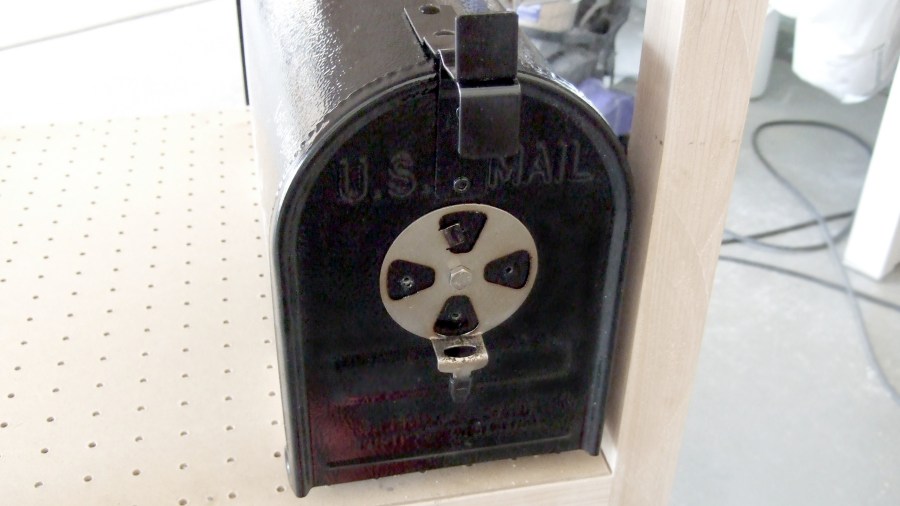
The vent has a tab that's bent down to stop it from turning past the vent hole. I used a pair of pliers to bend the tab up so it's flush with the rest of the vent. Next I held the vent against the mailbox door, marked the center and drilled a hole. Then I mounted the vent to the mailbox door with the bolt and nut.
I had originally panned to drill 4 vent holes in the door, about 5/8" diameter, but I decided to use the vent cover from the top of the smoker. With the vent in place, mark the center position for the vent holes in the door. Drill some pilot holes, or just go right to the 5/8" bit - whatever works best for you.

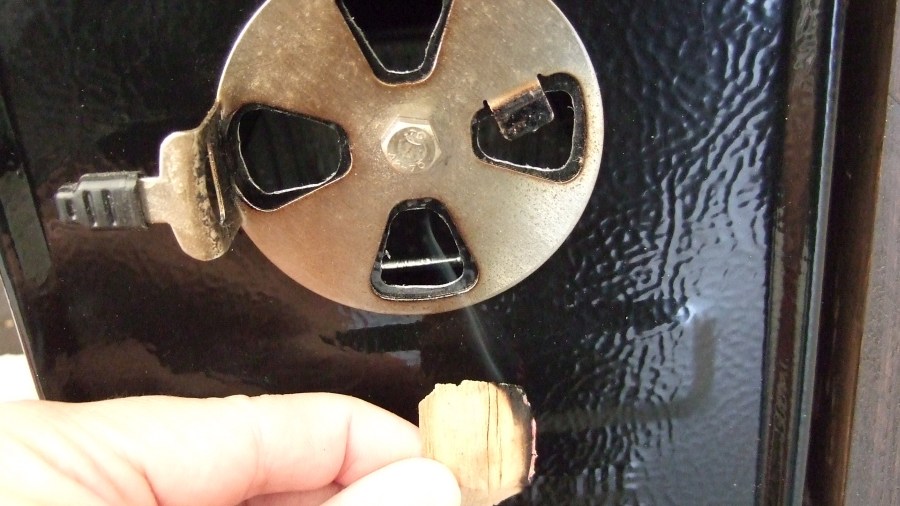
I decided to use the dremel and a grout removal bit (that's the only bit I had that would work) to make the vent holes match the vent cover. It required a lot of careful cutting. In retrospect I probably should have just drilled some vent holes and moved on. I suspect that keeping the vent closer to the bottom of the door may help to keep the chips going.
I got the vents cut. Not perfect, but it'll work. Next is the "guts" inside the smoker.

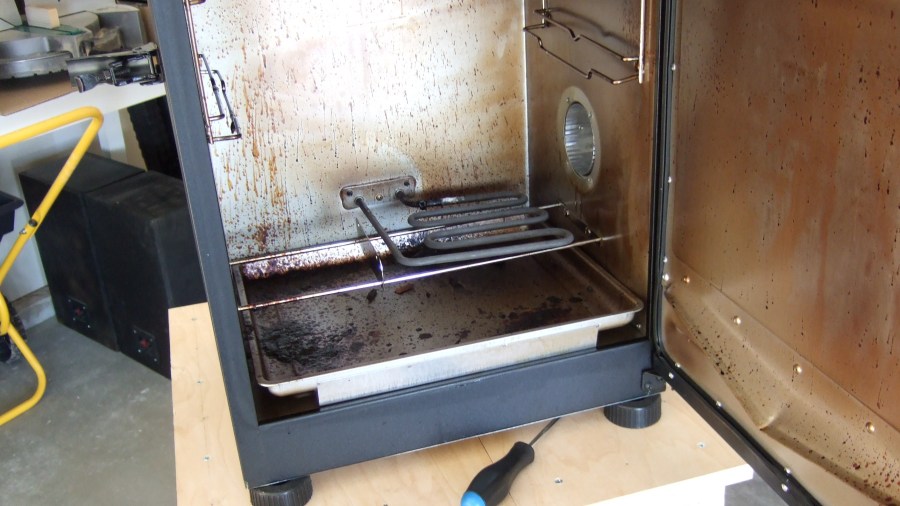
Since this stuff isn't doing much anymore, I figured I'd take it out. It's only held in my 2 screws and 1 bolt. I put a cheap aluminum pan over the heating coil. Update - I've removed the aluminum pan and the heating coil is doing fine. The water pan keeps almost all of the drippings off it.
Now let's test it...
I started up the smoker and checked the draft after a couple minutes. No problems there! I only see smoke coming out of the front of the mailbox when it's very windy, so the draft seems to be good.
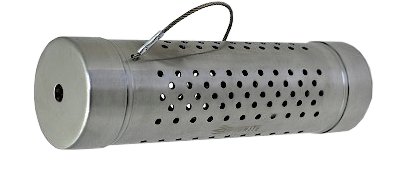
I use a stainless steel smoker tube from Target in the mailbox.
Time for an actual test.
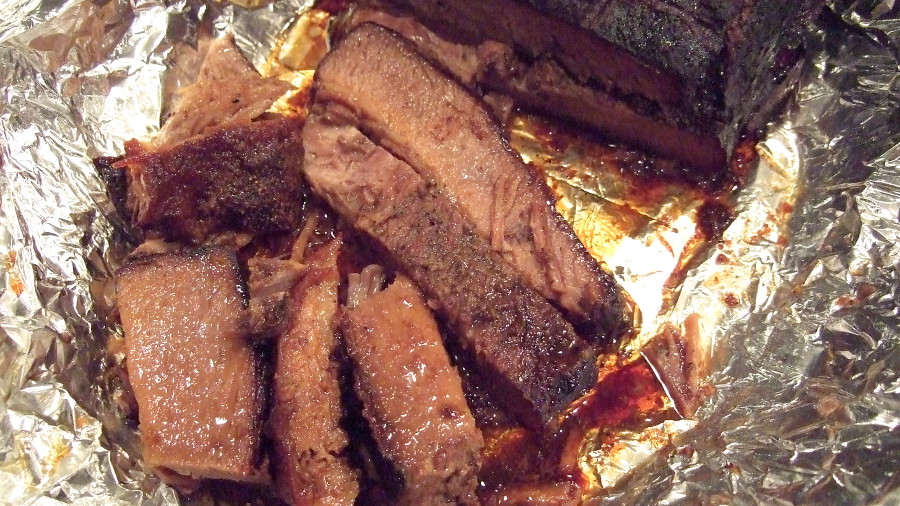
Awesome brisket! Everything seems to be working great.
Conclusions
After adding the mailbox mod to my Masterbuild Electric Smoker I've found that managing the chips has become much easier. Completing the modifications was fairly cheap and easy. If you're having trouble with the chips in your smoker, I'd definitely recommend trying the mailbox mod.
Resources
Keeping records each time you operate the smoker is the best way to improve your smoking skill. I have a Smoking Data Log sheet (xls spreadsheet format) available for download.
Contact Me
You may contact me at kevin@kevinsworkbench.com