Filling Mylar Bags
I'm going to walk you through the process of filling mylar bags. There's some optional steps and equipment you can skip. You don't have to do it this way, this is just how I do it. This is one of those things that seems complicated and may be difficult the first time you try it, but after you get the hang of it, it's actually really easy.
Preparation
This is the stuff you should have ready before you start...
- Mylar bags
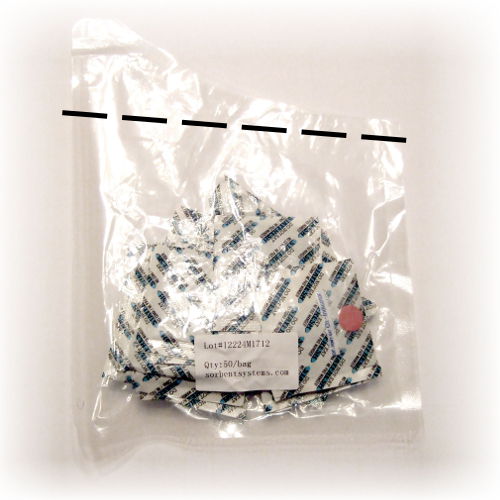
- Oxygen absorbers
- Clothes iron or bag sealer machine
- Food
- Permanent marker
- Tubing (optional)
- Books (optional)
- Cereal box (optional)
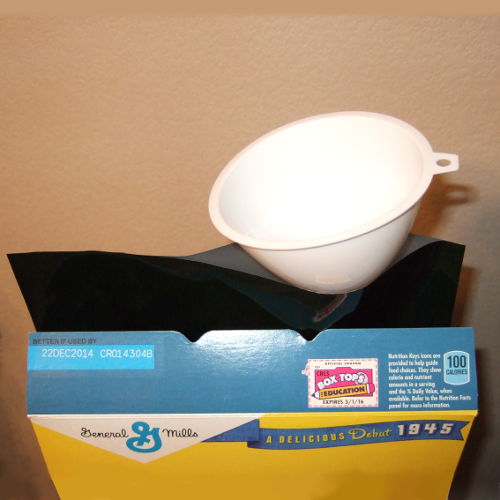
- Funnel (optional)
- Rolling pin (optional)
Step 1
Get everything ready. Get the iron warmed up. Although it may seem like an ironing board may be the best surface to seal the bags, I've found ironing boards a bit too soft, which can cause wrinkles in the bag when you seal it. I prefer to use a kitchen table or counter top with a few sheets of paper for insulation.
Step 2 (optional)
Lay the bags flat and partially seal the top. Seal from one side toward the center. Obviously, leave the opening large enough to fill the bag. With my iron on medium heat it takes about 3 seconds to seal the bags. This doesn't work well for spaghetti, it's too difficult to get in the bag.
Step 3
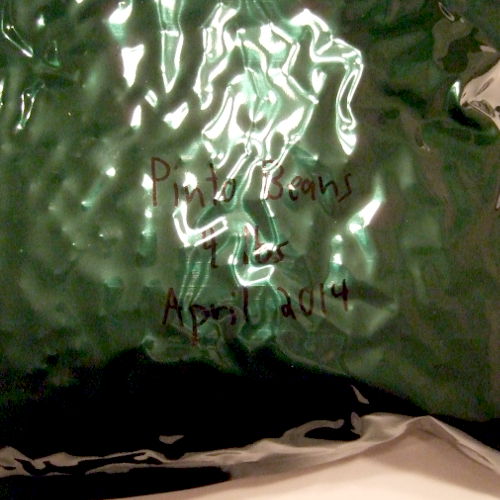
Label the bags with a permanent marker. Include the type / amount of food and the date it was packed.
Step 4 (optional)
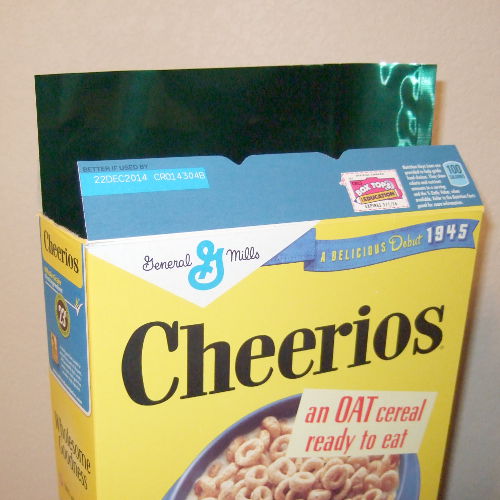
Place a bag into a cereal box to hold it vertically. If you have someone to help you, they can hold the bag.
Step 4.1 (optional)
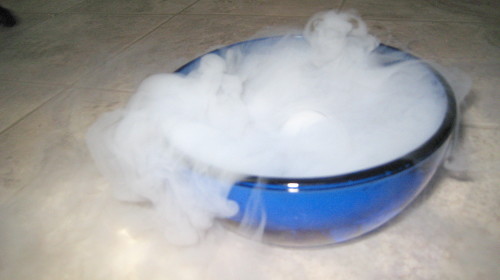
Drop some dry ice into the bottom of the bag. Use about one ounce of dry ice per gallon of bag capacity. The dry ice will "melt" and fill the bag with carbon dioxide. Since carbon dioxide is heavier than oxygen, it will push the oxygen up and out of the bag. Be sure to wear gloves when handling the dry ice. If the area is windy or drafty then this stem will be less effective as the carbon dioxide is blown out of the bags.
Step 5
Fill the bags. You can use a funnel for rice, orzo pasta, etc. or just pour the food in.
Note - Don't proceed to the next step until all the bags have been filled.
Step 6
Note - The next few steps must be done as quickly as possible. The oxygen absorbers have a limited life (about 20 minutes) once exposed to air.
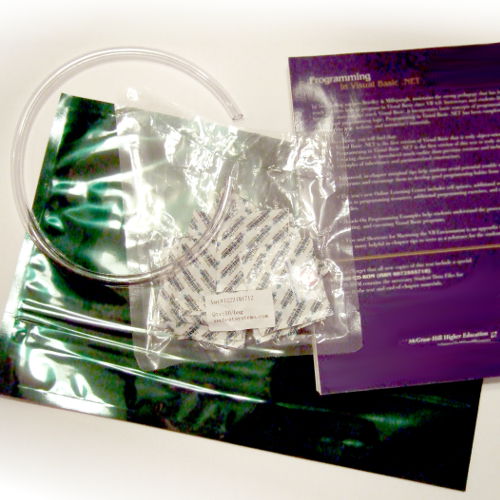
Cut open the bag of oxygen absorbers. Only cut the edge and leave enough plastic so you can reseal the bag with the iron. Remove the desired number of oxygen absorbers. I recommend only working with 6-7 bags at a time. So if you need 2 absorbers / bag, only take out 12 absorbers. If you have any left over absorbers, put them back in their bag, squish out as much air as possible and immediately seal the bag.
Step 7
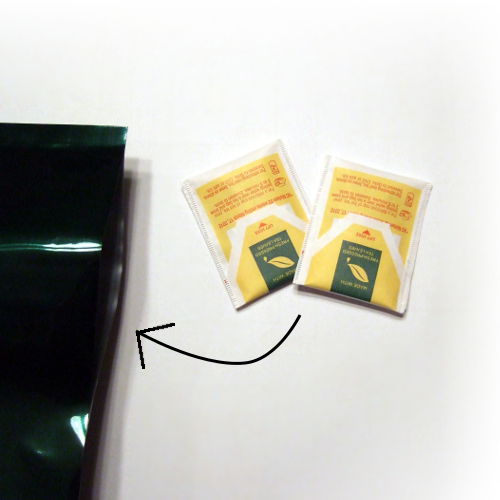
Throw the o2 absorbers in the bags. Try to push them down into the food a little bit.
For this picture I used tea bags in place of oxygen absorbers.
Step 8 (optional)
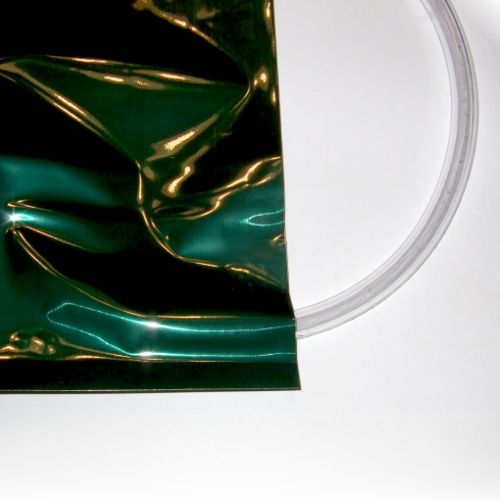
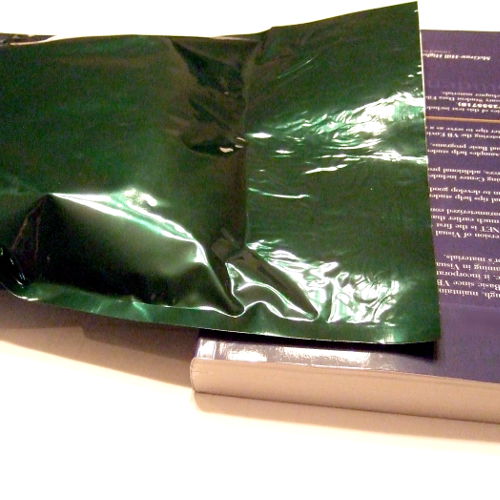
Insert the tubing into the bag and seal the top as close as possible to the tubing. I've found it easier to put a large book (about 300-600 pages) under the part of the bag that's being sealed. Suck out as much air as possible then use your finger to press the bag down as you remove the tubing. Hold your finger there so air doesn't get back in the bag.
Step 9
Seal the bag. I've found it easier to seal the bags if I place a large book under the part of the bag that's being sealed.
Step 10 (optional)
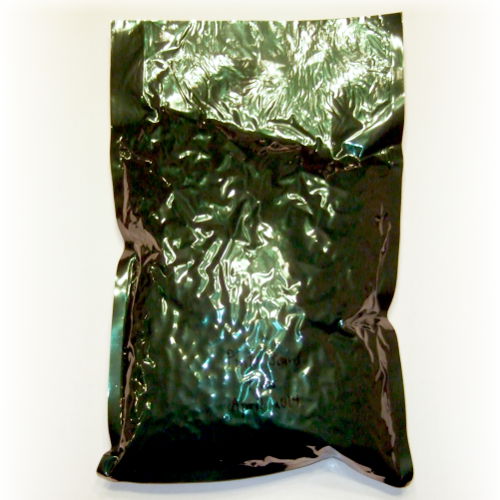
Lay the bags on a flat surface and smooth the contents out. Don't press too hard. I use a rolling pin. Of course, spaghetti won't need to be flattened out. Let the bags sit there for a couple hours while the absorbers remove the oxygen and tighten up the bags.
Step 11
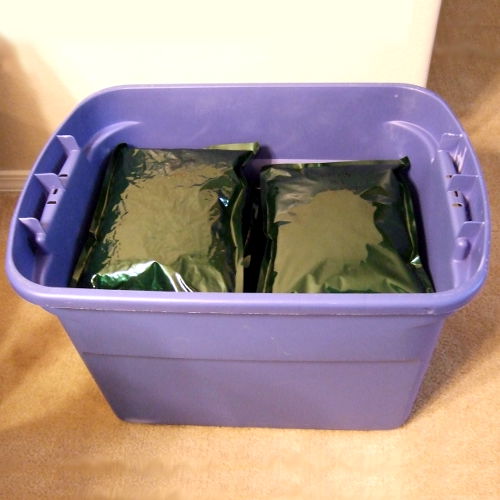
Move the bags into a container to protect them from mice and make it easier to move them. I use plastic totes or you can use 5 gallon plastic buckets with lids.
Store in a cool place. The temperature should remain under 75 degrees or the storage life of the food will be reduced.
That's all there is to it. Let me know if you have any questions or suggestions.
For more info please refer to my Guide To Emergency Preparedness.
Kevin :-)